Yes, Sharpen Your Ryobi Hedge Trimmer - Easy Guide
Ryobi Hedge Trimmer Maintenance and Sharpening Guide
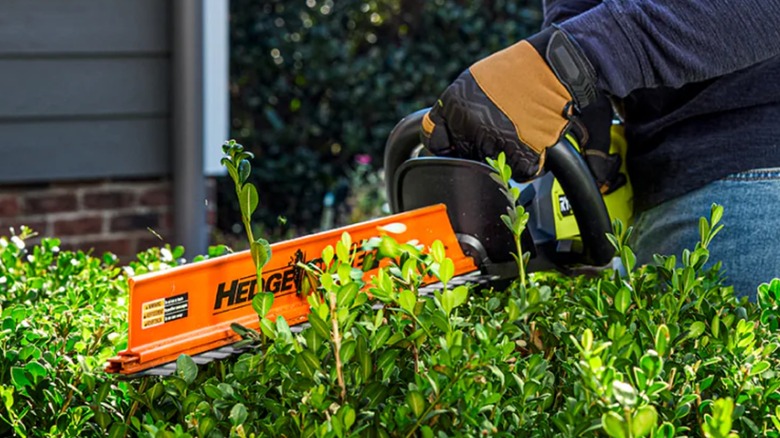
While Ryobi is widely recognized for its construction tools such as drills, sanders, and saws, the brand's expertise extends beyond these areas. Many longtime users of Ryobi products can attest to the brand’s commitment to landscaping and lawn care. Whether you're in need of a battery-powered lawn mower or a cordless blower to manage debris on your driveway, Ryobi offers a variety of tools tailored to meet your needs. This includes a range of hedge trimmers that cater to different preferences and requirements.
At present, there are several Ryobi hedge trimmer models available, each varying in power level, blade length, tooth size, and other customizable features. One notable accessory is a debris collection system, which helps keep your work area clean while trimming. However, like any tool, regular maintenance is essential to ensure optimal performance over time.
The Importance of Blade Sharpening
One of the key maintenance tasks for a Ryobi hedge trimmer is blade sharpening. While Ryobi recommends consulting a professional at a lawn equipment service or knife-sharpening business, some DIY enthusiasts have found ways to perform this task themselves. It's important to note that sharpening a hedge trimmer requires patience and precision, especially due to the multi-toothed nature of the blade.
To begin the process, you'll need an angle grinder equipped with a flap disc, along with proper safety gear such as eye, hand, and face protection. A synthetic oil or lubricating spray is also necessary to keep the blades moving smoothly and prevent rust and corrosion after sharpening. Additionally, securing the trimmer in place is crucial to avoid movement during the sharpening process.
Step-by-Step Sharpening Process
- Secure the Trimmer: Ensure the hedge trimmer is firmly held in place to prevent any accidental movement.
- Note the Original Angle: Observe and remember the angle at which the teeth were previously sharpened. This will be the angle you aim to replicate.
- Grind the Teeth: Using the angle grinder, gently grind along the edge of each tooth until it becomes sharp.
- Repeat for All Teeth: Continue this process for every tooth on the blade to maintain even sharpness.
- Apply Lubricant: After sharpening, apply your chosen lubricant to the blades and run the trimmer to distribute it evenly.
This process may seem straightforward, but it demands time and attention to detail. Even though Ryobi's hedge trimmers may not be considered the top-tier options in 2025, they still require proper care to function effectively. Keeping the blades in good condition is a vital part of this maintenance.
Recognizing When Sharpening Is Needed
Determining when a Ryobi hedge trimmer needs sharpening is relatively simple. One of the most obvious signs is the condition of the blades. If the teeth appear dull, jagged, or corroded, it's time for a sharpening. Additionally, if you find that branches that were once easy to cut now require more effort, this is another indicator that the blades need attention.
Another sign is the quality of the cuts. Dull blades may struggle to cut through branches cleanly, leading to issues such as branches getting stuck in the trimmer or leaving uneven, torn cuts. These problems can negatively impact the health of your plants by making them more susceptible to disease and fungal growth. Therefore, maintaining sharp blades is essential for both the longevity of your trimmer and the well-being of your garden.
Conclusion
Ryobi's hedge trimmers are valuable tools for any home landscaper, but their effectiveness depends on regular maintenance. Knowing when to sharpen the blades and how to do it properly ensures that your trimmer continues to perform efficiently. Whether you choose to handle the sharpening yourself or seek professional assistance, taking the time to care for your tools will pay off in the long run.
Post a Comment