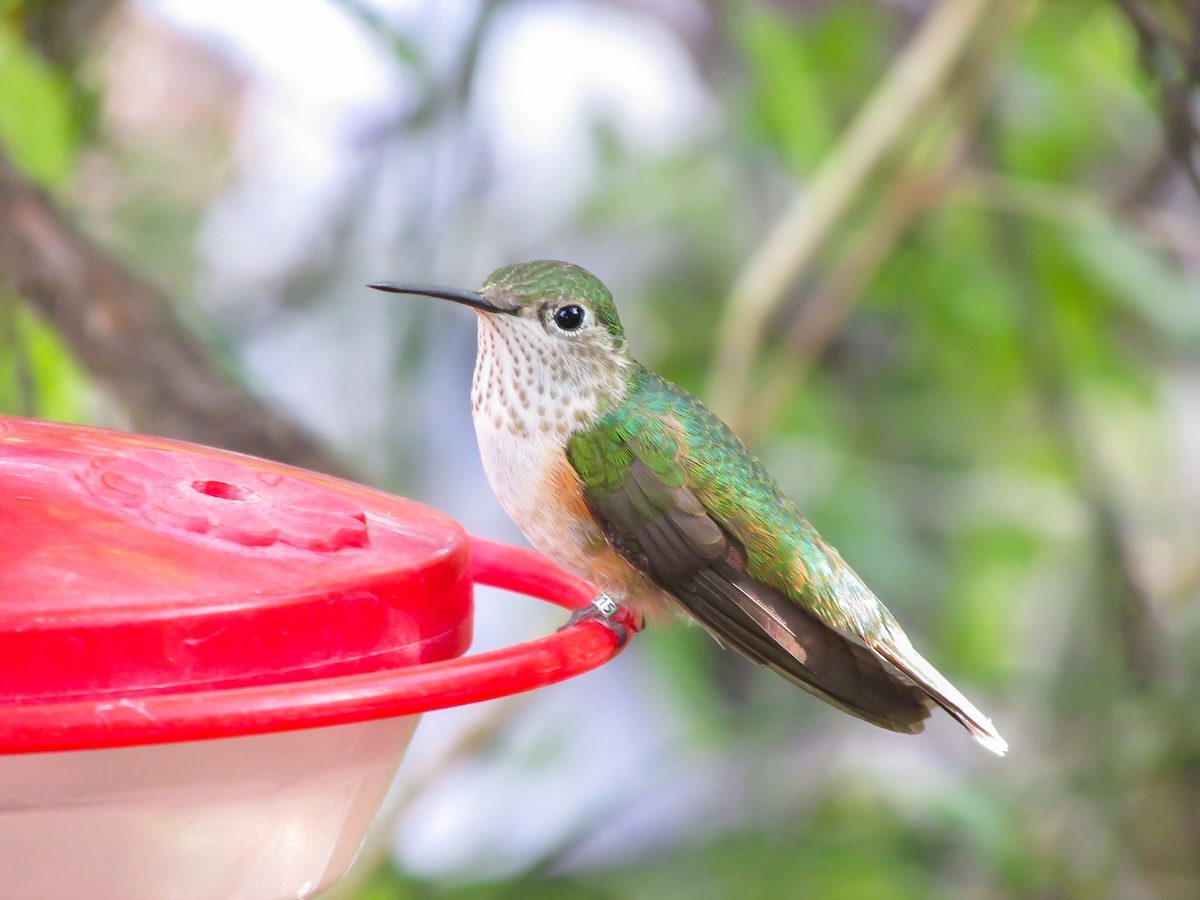
Mold on Your Hummingbird Feeder? Here's What to Do Now

Recognizing Mold on Hummingbird Feeders
Watching a tiny, iridescent hummingbird feast on sugar water at your backyard feeder can be one of the most delightful experiences for bird enthusiasts. However, if mold is present on your feeder, it could potentially harm the very birds you're trying to attract. Understanding how to identify and address mold issues is essential for maintaining a safe environment for these beautiful creatures.
Mold in hummingbird feeders typically appears as black, green, or gray patches. It may look like small dots, slimy residue, or even float within the nectar itself. You might also notice mold around the feeding ports or along any grooves and seams. This buildup often resists simple rinsing and requires careful cleaning to ensure it's fully removed.
Causes of Mold Growth in Hummingbird Feeders
Molds thrive in warm, damp conditions, and hummingbird feeders provide an ideal environment due to the presence of sugar water. The combination of warm weather, crevices in the feeders, and the sugary solution creates the perfect breeding ground for mold. As temperatures rise, mold growth accelerates, especially in feeders placed in sunny areas. In some cases, mold can appear within just a day or two, particularly during hot weather.
The longer the sugar water remains in the feeder, the higher the risk of mold development. It’s important to be aware of this and take steps to prevent it from occurring in the first place.
Health Risks of Mold to Hummingbirds
Mold can pose serious health risks to hummingbirds. One of the most common issues is candidiasis, a fungal infection that affects the bird’s tongue. This condition causes swelling, which can make it difficult for the bird to retract its tongue. If left untreated, affected birds may become unable to feed and could eventually starve.
Cleaning Mold from Hummingbird Feeders
If you spot mold on your feeder, it’s crucial to act quickly. Remove the feeder immediately and empty out the spoiled nectar, ideally down a drain rather than outside to avoid harming other animals. Afterward, clean your sink thoroughly to prevent contamination.
Disassemble the feeder completely, including any removable parts, and rinse or wipe off visible mold. There are several effective methods to deep-clean your feeder:
- Scrub with hot water and mild dish soap, using small brushes to reach tight spaces.
- Soak the parts in a solution of 1 part bleach to 9 parts water or 1 part vinegar to 2 parts water for about an hour, then scrub all crevices.
- Place the feeder in the dishwasher, but check the manufacturer’s instructions first to ensure it is safe.
After cleaning, rinse the feeder thoroughly to remove any remaining soap, vinegar, or bleach. Allow it to dry completely before reusing it. A final inspection should be done to ensure no mold remains.
Preventing Mold in Hummingbird Feeders
Prevention is key when it comes to mold. Regular cleaning is essential, especially during warmer months. Clean feeders at least once a week in cooler weather and twice a week when temperatures rise. When the temperature exceeds 90°F, daily cleaning is recommended.
Keep the nectar fresh by replacing it every two to three days. Making a batch in advance and storing it in the fridge can help streamline the process. If birds aren’t consuming the nectar quickly, consider using a smaller feeder.
Place feeders in shaded areas to slow fermentation and reduce mold growth. Protecting them from direct sunlight can significantly extend the life of the nectar.
What to Do If Nectar Is Cloudy
Cloudy nectar is a sign that it has spoiled. Sugar water can ferment rapidly in warm conditions, making it unsafe for birds. If you notice cloudiness, empty the feeder, clean it thoroughly, and refill it with a fresh batch of homemade nectar.
By taking these steps, you can ensure that your hummingbird feeder remains a safe and inviting place for these fascinating birds to visit.
Post a Comment